Green Green and more Green

Green Green and more Green

Saturday, April 26, 2014

Wow! I've Gotta Go!


Wendy Vecchi is coming back to The Scrapbooking Studio...


Art Journaling Tags
May 3rd 9am-6pm
Cost $90

plus you will receive lunch and I am serving a Taco Bar in honor of Cinco de Mayo

Go To The Scrapbooking Studio to see details!


call the store (309) 736-7242


"Yearbook"


Every year for almost 10 years I have made a little album which has one month on each two-page spread. I make pockets and have a journaling tag where I write one or two words representing what has happened that month. I have used lots of different types of papers. Last year I used Graphic 45's Time paper line.
I'll put a picture up of the one I made for 2014. It's totally different than this one!

February.....

June....


Friday, April 25, 2014

Style!


For my daughter's birthday, I made her this little "Style" album. She is majoring in Fashion Merchandise. I thought she would like this Graphic 45 Couture paper and an album to keep photos, ideas, and scraps of paper more organized. I got everything I used at The Scrapbooking Studio.

I started with  6x6 black chipboard. I did the cover last! I knew it would be loaded and wanted to do the other side before I had a "bumpy" front.

I totally forgot to take a picture of my binding! Oops!
I used my own binding- the 1/4", 1/2", 1/2" scoring and then gluing the 1/2" pieces to each other. I added black cardstock folded  in half to make pockets on top. You can see a few elements sticking out of the top.

Then I chose various journaling/decorative cards from the paper line. I would pick complementary 
colors (usually the Plain stuff --as if G45 is plain!) and cover the cardstock. I cut all that paper at 5 1/2 x 5 1/2 so I would have a small black border all around. I added different complementary paper (usually patterned papers) to the other side adding a pocket below. Later I add different embellishments and cut out elements to both pagers. I stuck journaling cards, elements and some of the "pockets" that come with the paper line into the bottom pocket and inside the page pockets.


These two pages are part  of a three page spread I added. I made an extra pocket and added to my page. Scored and folded it in. The 5 matching "cards" that came in the line were so beautiful I wanted to keep them altogether. I really love how this page turned out with the sewing pattern background pages and the contrasting Classy, Lovely, Stylish, Gorgeous ladies went together so beautifully!


This page I reversed for fun!


The Back!


Thursday, April 24, 2014

Green! Green! Green!

I'm always so excited to see buds on the trees and leaves popping out from the ground! I love green (if you couldn't tell!) so this is a great time of year!
Welcome Spring!

Wednesday, April 23, 2014

Heart Book


Oops! I forgot the front picture!

I learned how to make these roses from my daughter! I took 1" rick rack ribbon and started rolling on to itself. I added glue ever so often to keep it together. Then I rolled the edges out as much as I could. I used a large glue dot to glue it to the front.

I started with 2x4 pieces of white cardstock. Then I stamped Tim Holtz's  flair randomly on the cards.
 I embossed them with Distress Black Embossing Powder - both sides. Then I used Peeled Paint Distress Ink on the whole card- both sides. Focusing mostly on the edges.

I laid them all next to each other and used Tim's Tissue Tape to put them together. 
I left a 1/4" space between the cards so they would fold together.  


Then I hand cut hearts. I added tissue tape, stamps, emobossing, lace and Tim's chat words.I added Barn Door Distress Ink to each heart after adding decoration.
 I added the hearts to each page. I left the back just the flair.


I love black, white and green together. I also love red and hearts! Totally me!


Sunday, April 20, 2014

Wednesday, April 16, 2014

Graphic 45 By The Sea Cards


I used Graphic 45 paper for the background a journaling note card for the center. The plaid border is one of the borders from the line. I cut a lobster stamp and popped it up.  


This card I cut another journaling note card the shell border was part of the card. I fussy cut some shells and popped a few up. I added a Prima flower that was already the perfect blue color!


This card I cut a background out from the border page. Then I added a journaling card
 and another blue Prima flower. I cut another shell border and popped it up on top of one border. I really like how this card turned out!


Come see this paper on-line or in The Scrapbook Studio. It's beautiful!

Friday, April 11, 2014

Graphic 45 "By The Sea"


This is my next Design Team project for The Scrapbooking Studio.
Such beautiful paper and so much fun to work with.
It went well with my pictures from my Hawaii.
I used all Graphic 45 paper with Walnut Distress Ink.
 I added some seam binding inked with Tumbled Glass Distress Ink and a few Tim Holtz baubles and mini clip. I fussy cut the seahorse, stuck it on a memo pin and added Glossy Accents.


I fussy cut the stamps, compass, and the starfish. I added a little lace. 


Same idea with this one- just different colors! The little starfish is on the memo pin with glossy accents.


Stop by the store- in person or online- to see this paper up close. It's gorgeous!


Wednesday, April 9, 2014

Baby Gift

This is something I like to make for baby showers. 

This is the first time I remembered to take a picture before I wrapped it!
 I used Basic Grey paper- an older line. I got from The Scrapbooking Store.
I made the book out of chipboard covers and kraft paper binding and pocket pages. 
On the front I also used some embellishments from the line. 
The clock is Tim Holtz die, paper and Ranger silver paint on the "bells".


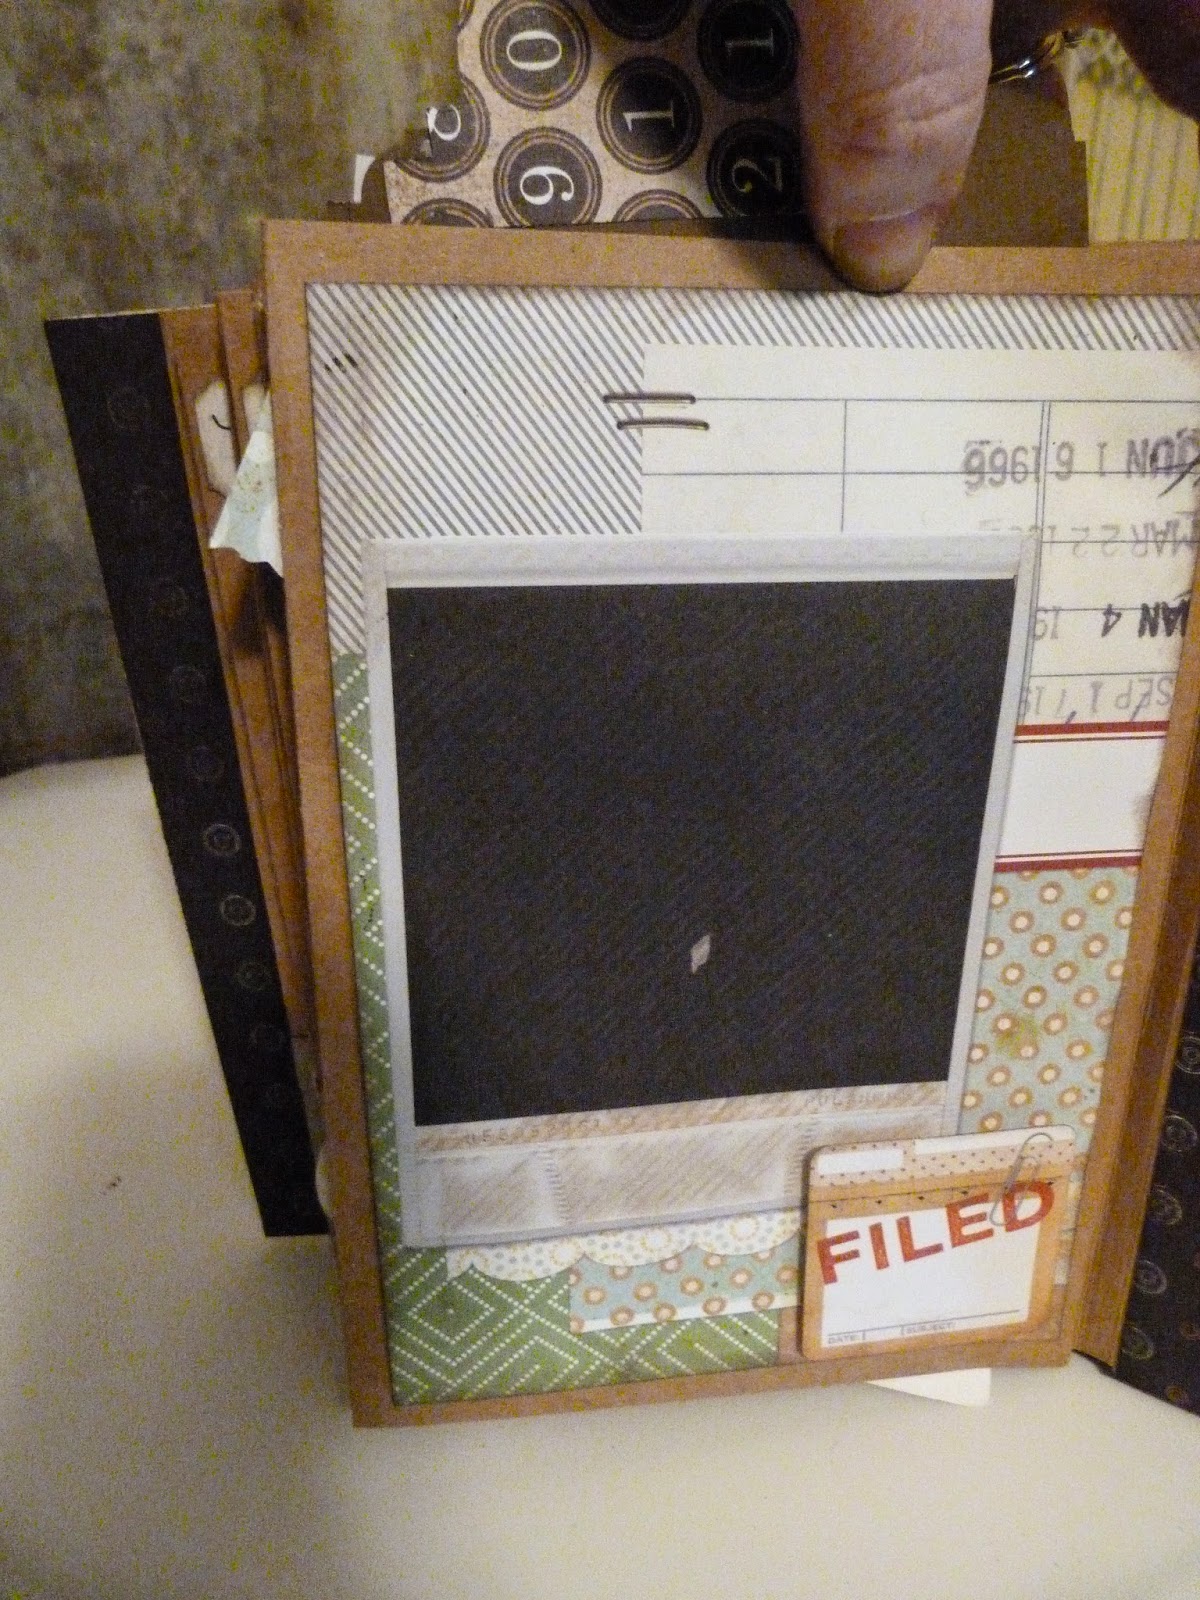
This is the back page. The paper has a ready made "polaroid" photo mat. 


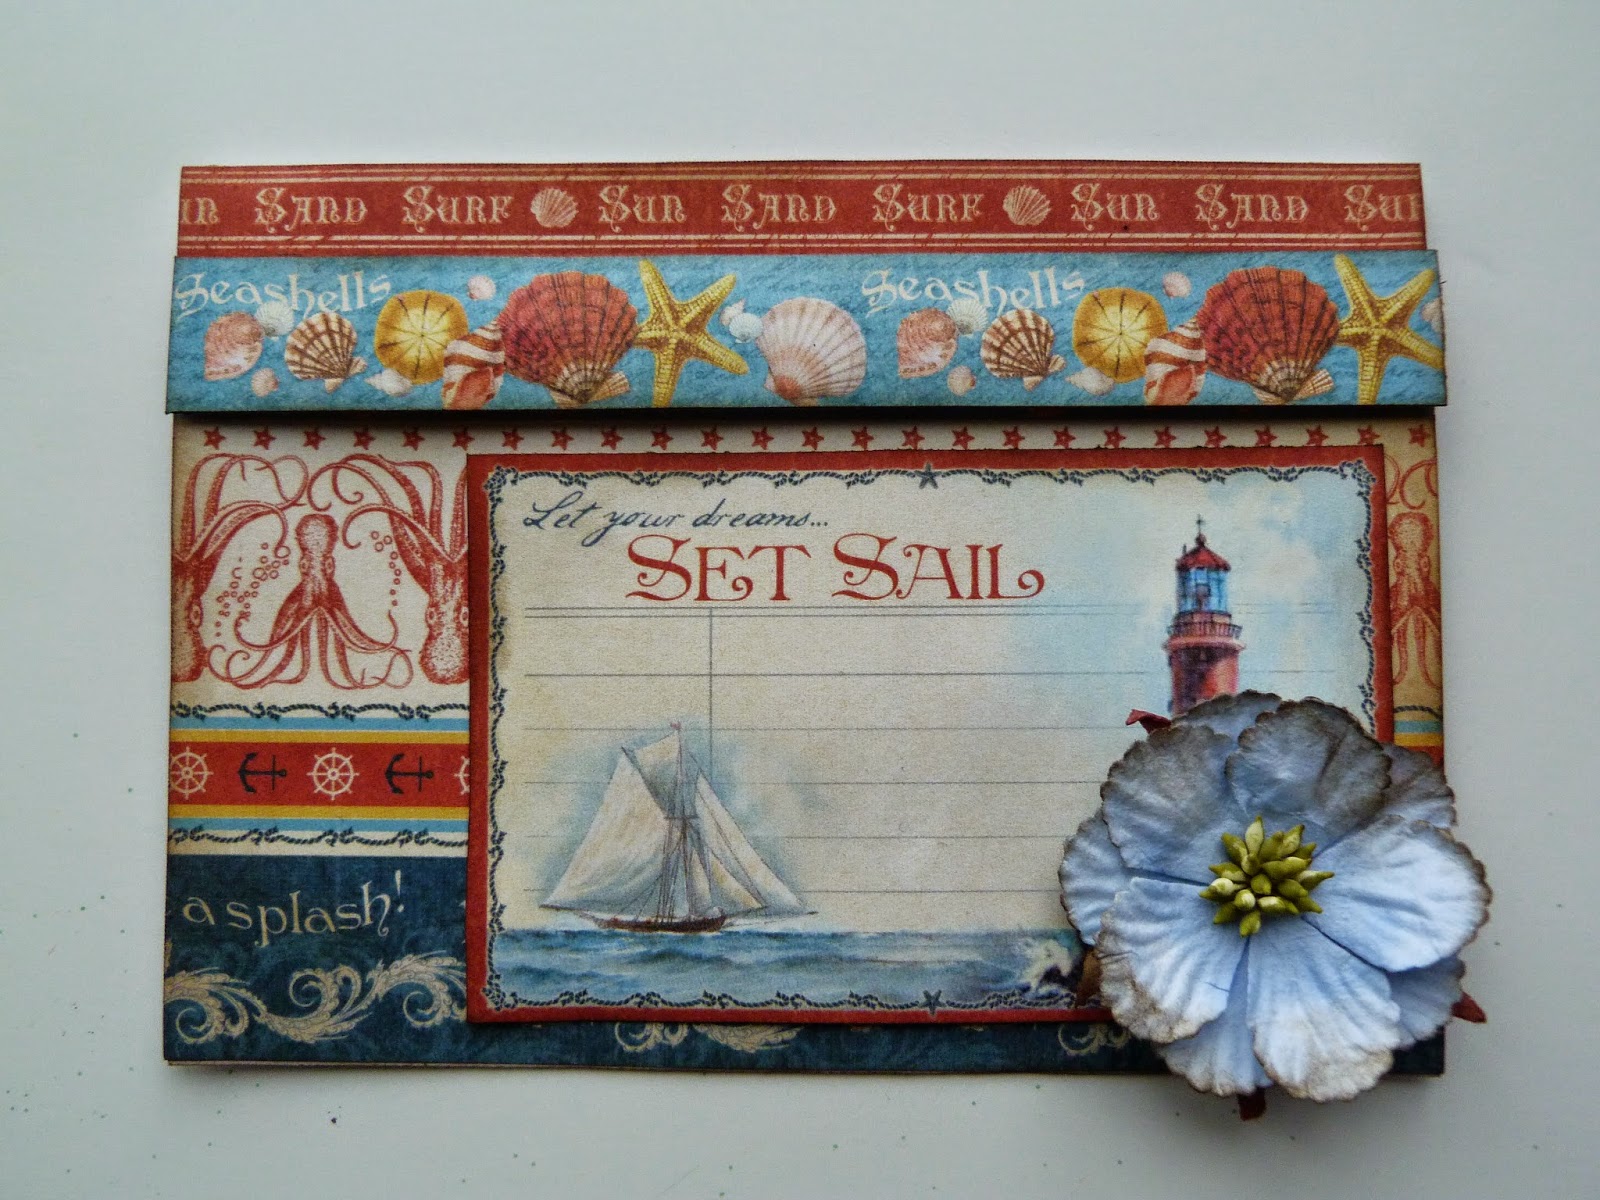
This is the first page. It's for entering all the important facts.


Each page has a mat and a number. One for each of the first 12 months. Each page is also a pocket. There is a tabbed photo mat in each and some pages have some of the journaling cards.


This is page 12. The Birthday page! 


Here are a few tabbed mats sticking out.


Here's what the seam and pages look like.
 I used the 1/4in 1/2in 1/2in pattern. I I made 7 pages so I did the pattern 7 times.
 I then folded the 1/2 1/2 in sections onto themselves- using paper tape to seal it. The 1/4in is the spacer between the two pages. I then sealed the open side seams of the pockets onto each fold. I then needed to seal the bottom to complete the pocket. 


I was really happy with how it turned out. 

Tuesday, April 8, 2014

A very Bad Month

So sorry.... I've had a bad month.

1. My grandmother got very sick and died.
2. On the day of the funeral, my husband's mom was rushed to the ER. He didn't get to go to the funeral, and my daughter did the eulogy!
3. Cleaned out my grandma's apt.
3. 10 days later, my uncle died.
4. Spring Break was spent in Ohio at a funeral.
5. Mother-in-law still in rehabilitation.
6. Starting to clean out my mother-in-laws house.
7. Just starting to get my life back.
BUT ....
I did make several- keep -my - sanity projects  and a few before all this happened....

So hoping to post those soon!

Thanks for being understanding!